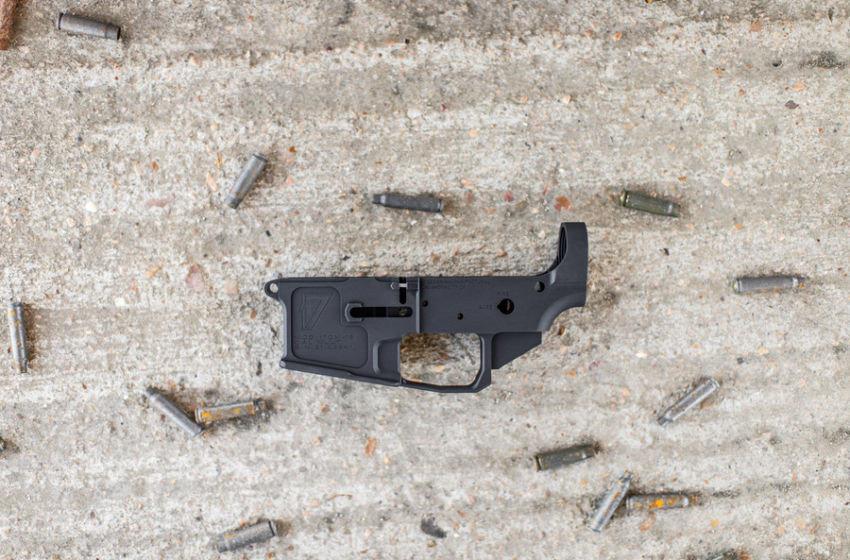
Picked up a new stripped lower receiver and want to make it your own? You have a few ways to finish an AR-15 receiver, and the three most common are anodizing, Cerakote, and a do-it-yourself paint job. They are not interchangeable, though. Each one works on different materials, holds up differently, and gives you different options for color and customization.
Below we break down what each finish actually is, how they differ, and how to decide which one fits your build. Let us dig into anodized vs Cerakote vs a DIY paint job.
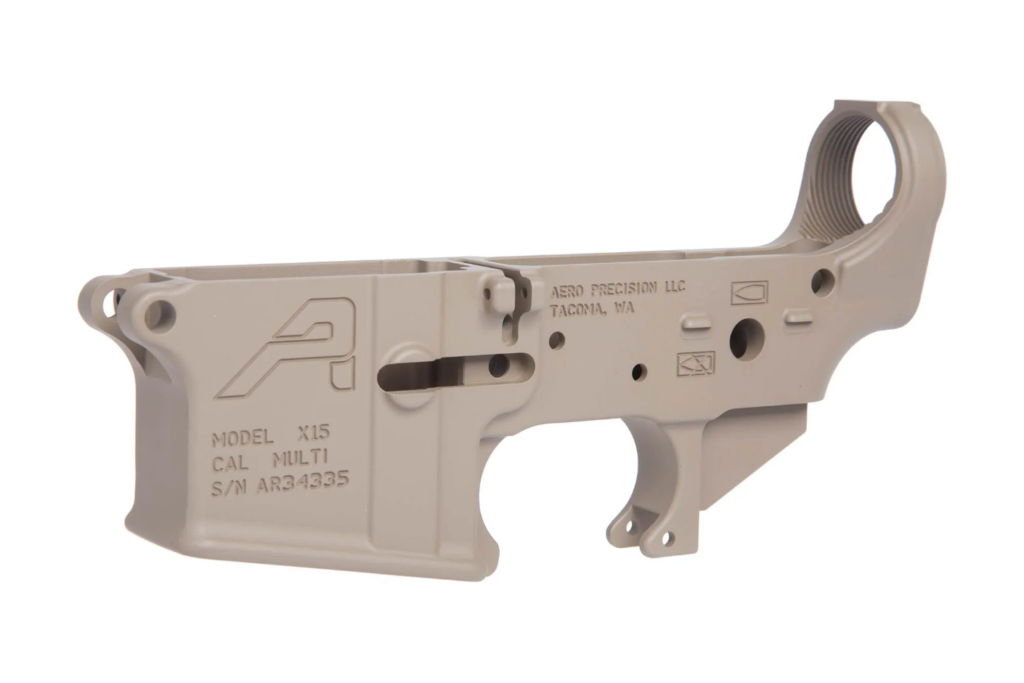
Anodized Lower Receiver Finishes
Anodizing is an electrochemical process, and it only works on aluminum (and a few other metals such as titanium). It does not coat steel or polymer. The part is submerged in an acid electrolyte and run as the anode in an electrical circuit, which converts the outer layer of the aluminum into a hard, controlled layer of aluminum oxide. That distinction matters: the finish is grown into the surface of the metal rather than sprayed on top of it, so there is nothing to chip or peel off in flakes.
The mil-spec standard for AR-15 receivers is Type III, often called hard coat anodizing, defined under the military specification MIL-A-8625. Type III builds a thicker, harder oxide layer than the decorative Type II finish, which is why it stands up so well to abrasion, galling, and corrosion. It is the finish you will find on most factory forged receivers, handguards, and other aluminum components.
The main trade-off is color. Because anodizing relies on dye soaking into the porous oxide layer before it is sealed, the practical color range is limited and consistency can vary. Most hard coat anodizing on firearms is black, with a smaller selection of other colors available. If you want a true camo pattern or a specific custom color, anodizing is not the tool for the job.
Anodizing is also not a realistic do-it-yourself project for most owners. Home kits exist, but they generally produce a thinner Type II finish rather than a true Type III hard coat, which calls for chilled sulfuric acid and high voltage. For a quality result on a single receiver, the usual route is to send it to a shop that runs the process to spec.
Cerakote Lower Receiver Finishes
Cerakote is a sprayed-on ceramic-polymer coating. Unlike anodizing, it is a true coating applied over the surface, and that is its biggest advantage: it bonds to nearly any material, including steel, aluminum, stainless, polymer frames, and even wood. That means you can finish a complete firearm in a matching color, not just the aluminum parts.
The process is straightforward in concept. The part is cleaned and prepped, the coating is sprayed on as a thin film, and then it is baked in an oven to cure. Cure temperatures depend on the substrate, with metal parts typically cured around 300 degrees Fahrenheit and polymer parts cured cooler and longer so the frame is not damaged. Applied correctly, the film is very thin, on the order of one to two thousandths of an inch, so it adds corrosion and wear resistance without throwing off the fit of close-tolerance parts.
Where Cerakote really separates itself is customization. The system offers hundreds of colors plus the ability to lay up multi-color camouflage and stencil patterns, all held to tight color-consistency standards. If the look of the gun matters to you, this is the finish with the most range.
The trade-offs are prep and application. Cerakote is only as durable as the surface preparation and cure behind it, so a sloppy job can chip or wear early. It is also generally a professional service rather than a quick afternoon project, and coating a complete firearm inside and out costs more than finishing a single receiver. Done well, though, it is a tough, corrosion-resistant finish that works on parts anodizing simply cannot touch.
DIY Paint Job Finishes
The most accessible option is a do-it-yourself paint job. The simplest version is a quality rattle-can firearm finish, applied with stencils or netting to build a custom pattern. There are also air-cure and oven-cure coating kits, including DIY Cerakote products, that sit a step above spray paint in durability but ask for more prep, equipment, and ventilation.
Whatever product you choose, work in a well-ventilated space and follow the safety instructions, since many of these finishes give off fumes during application and curing.

A DIY finish adds a modest layer of protection against scratches, handling wear, and surface rust, and it is by far the cheapest way to put your own stamp on a build. The catch is durability and consistency. Spray-on finishes are softer than a baked Cerakote job or hard coat anodizing, so they wear faster, and the results depend heavily on your prep and patience. A rushed job can look rough and may lower the resale value of the gun.
If you paint only the lower receiver rather than the whole firearm, that risk is easier to manage. A lower is inexpensive to swap, so you can replace it before selling, or a buyer can simply put on their own.
Which is Better?
There is no single best answer, because the three finishes do not compete on the same terms. Start with the material and the goal.
If you have an aluminum receiver and want the toughest, longest-wearing finish with proven mil-spec durability, Type III hard coat anodizing is hard to beat. The catch is that it only works on aluminum and the color options are limited, usually black.
If you want corrosion and wear protection across the whole firearm, including steel and polymer parts, or you want a specific color or camo pattern, Cerakote is the answer. It is more versatile than anodizing on material and color, but it is a coating rather than an integral oxide layer, it relies on good prep, and finishing a complete gun costs more.
If budget and personal expression matter most and maximum durability does not, a DIY paint job is the most fun and the cheapest entry point. It offers real but limited protection and will not hold up like the other two, so plan accordingly if you ever intend to sell or trade the gun.
Whichever route you take, you will end up with a receiver that is better protected than bare metal and that looks the way you want it to. Match the finish to the material and the mission, and have fun with the build.
Check out our other gun guides as well as our latest gun bag reviews.
Comments